# How to Configure Auto Attendants
The Auto Attendant functions like a virtual receptionist, presenting the caller with a greeting and dial options for their call to be routed to. Eg. a typical greeting might be:
"Thank you for calling Company ABC, "for Sales, press 1," "for Accounts, press 2," and "for the dial-by-name directory, press 4."
The Auto Attendant dial options are preconfigured to route the call to an Extension or Call Flow feature account.
Auto Attendants use the account range (100, 101 .......) each account defines a unique Auto Attendant, allowing you to set up multiple Auto Attendants.
Auto Attendant accounts can be added to your Business Phone System by your service provider.
The following instructions detail how to configure an Auto Attendant.
# Configuring an Auto Attendant
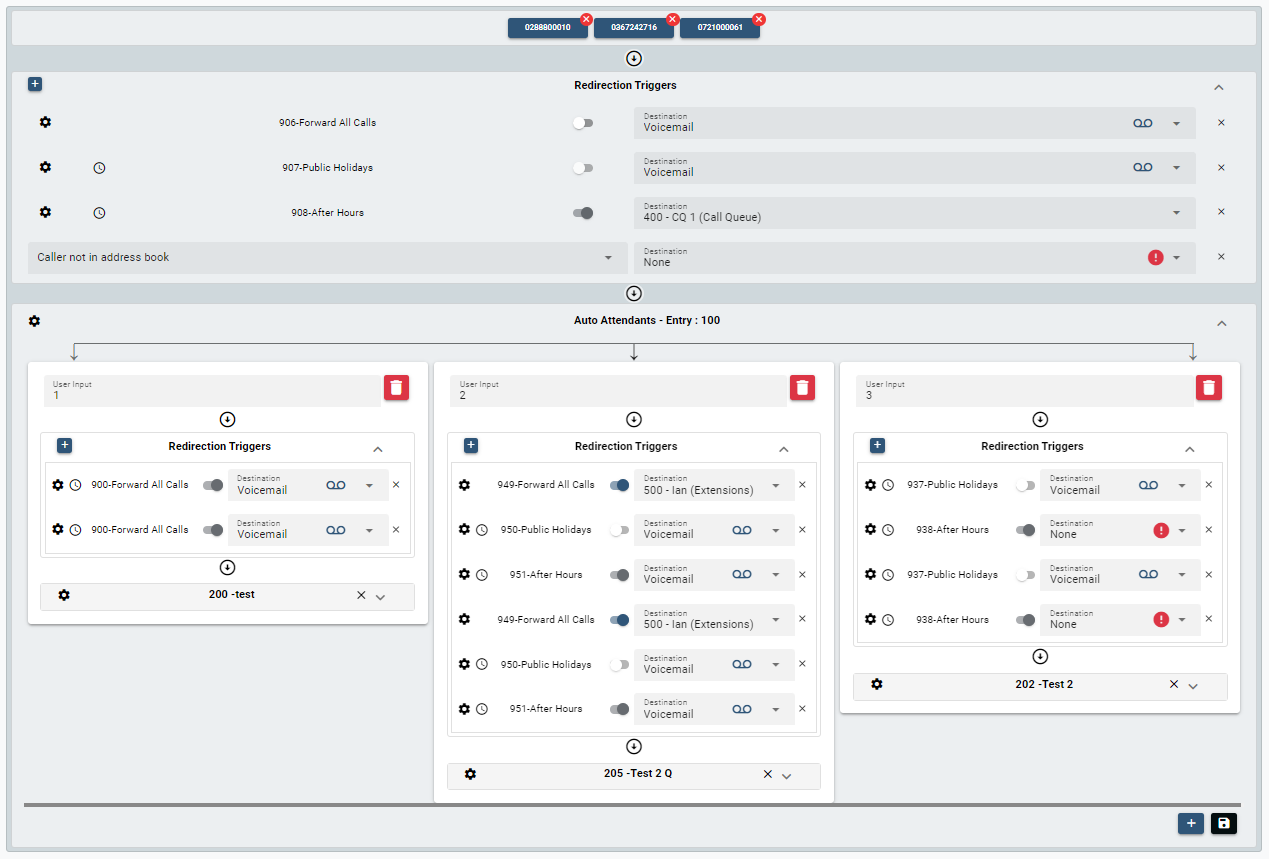
Configure the Redirection Triggers.
Redirection Triggers take priority In the Auto Attendant.
Any enabled Redirection Trigger will be actioned before the call is routed to the Auto Attendant. The following buttons show whether a Redirection Trigger is enabled or disabled.
Redirection Trigger enabled.
Redirection Trigger disabled.
The default Redirection Triggers in order of priority are:
Forward All Calls
Public Holidays
After Hours
You can use Drag and Drop to change the order of Redirection Triggers.

In the example above only the Forward After Hours Redirection Trigger is enabled.
742-After Hours is the name of the Redirection Trigger account.
shows that the Redirection Trigger is enabled.
Destination is a drop-down box listing the redirection Destination options (in this example to Voicemail)
Click on the Down Arrow
to list the Destination Options.
If the Destination is None the
symbol will appear.
Click on the
button to remove the Redirection Trigger from the Ring Group.
For more information on Redirection Triggers please refer to How to Configure Redirection Triggers.
After the Redirection Triggers are configured, you can configure the Auto Attendant Basic Settings.
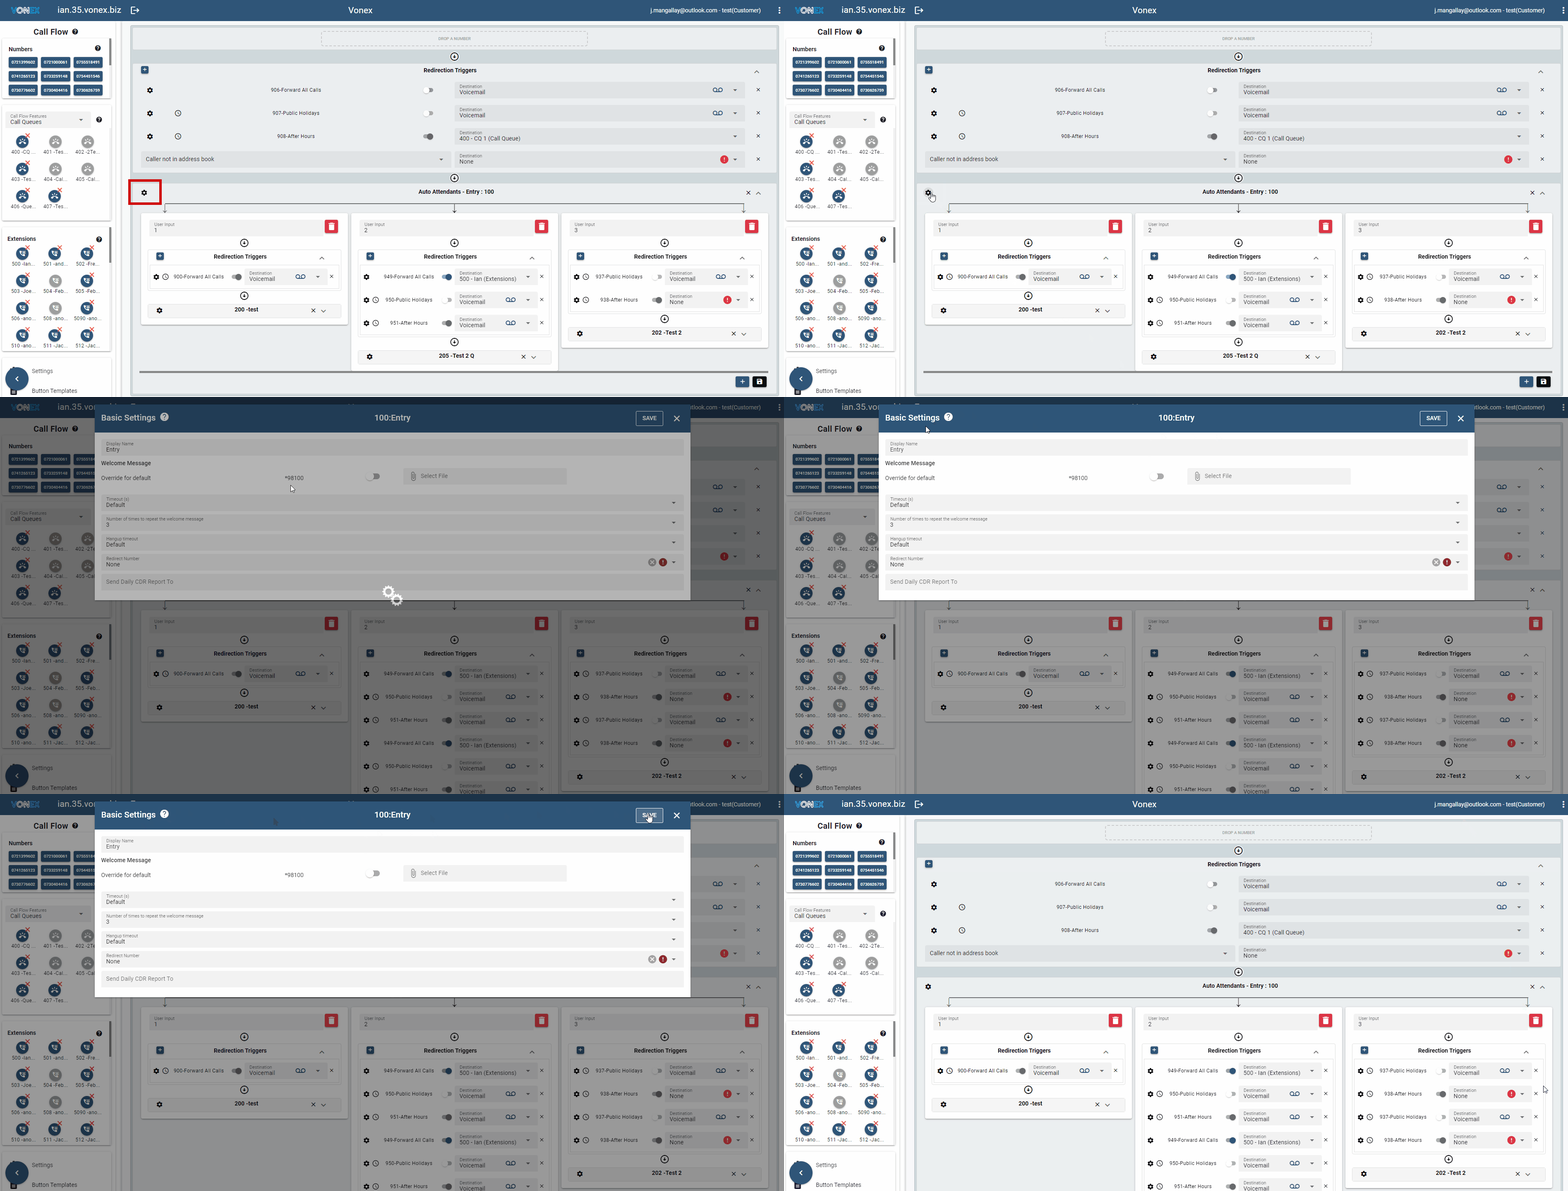
Click on the
icon to configure the Auto Attendant Basic Settings.
An alternate method to update the Auto Attendant is to Double Click on the Auto Attendant account from the list of Auto Attendant accounts.
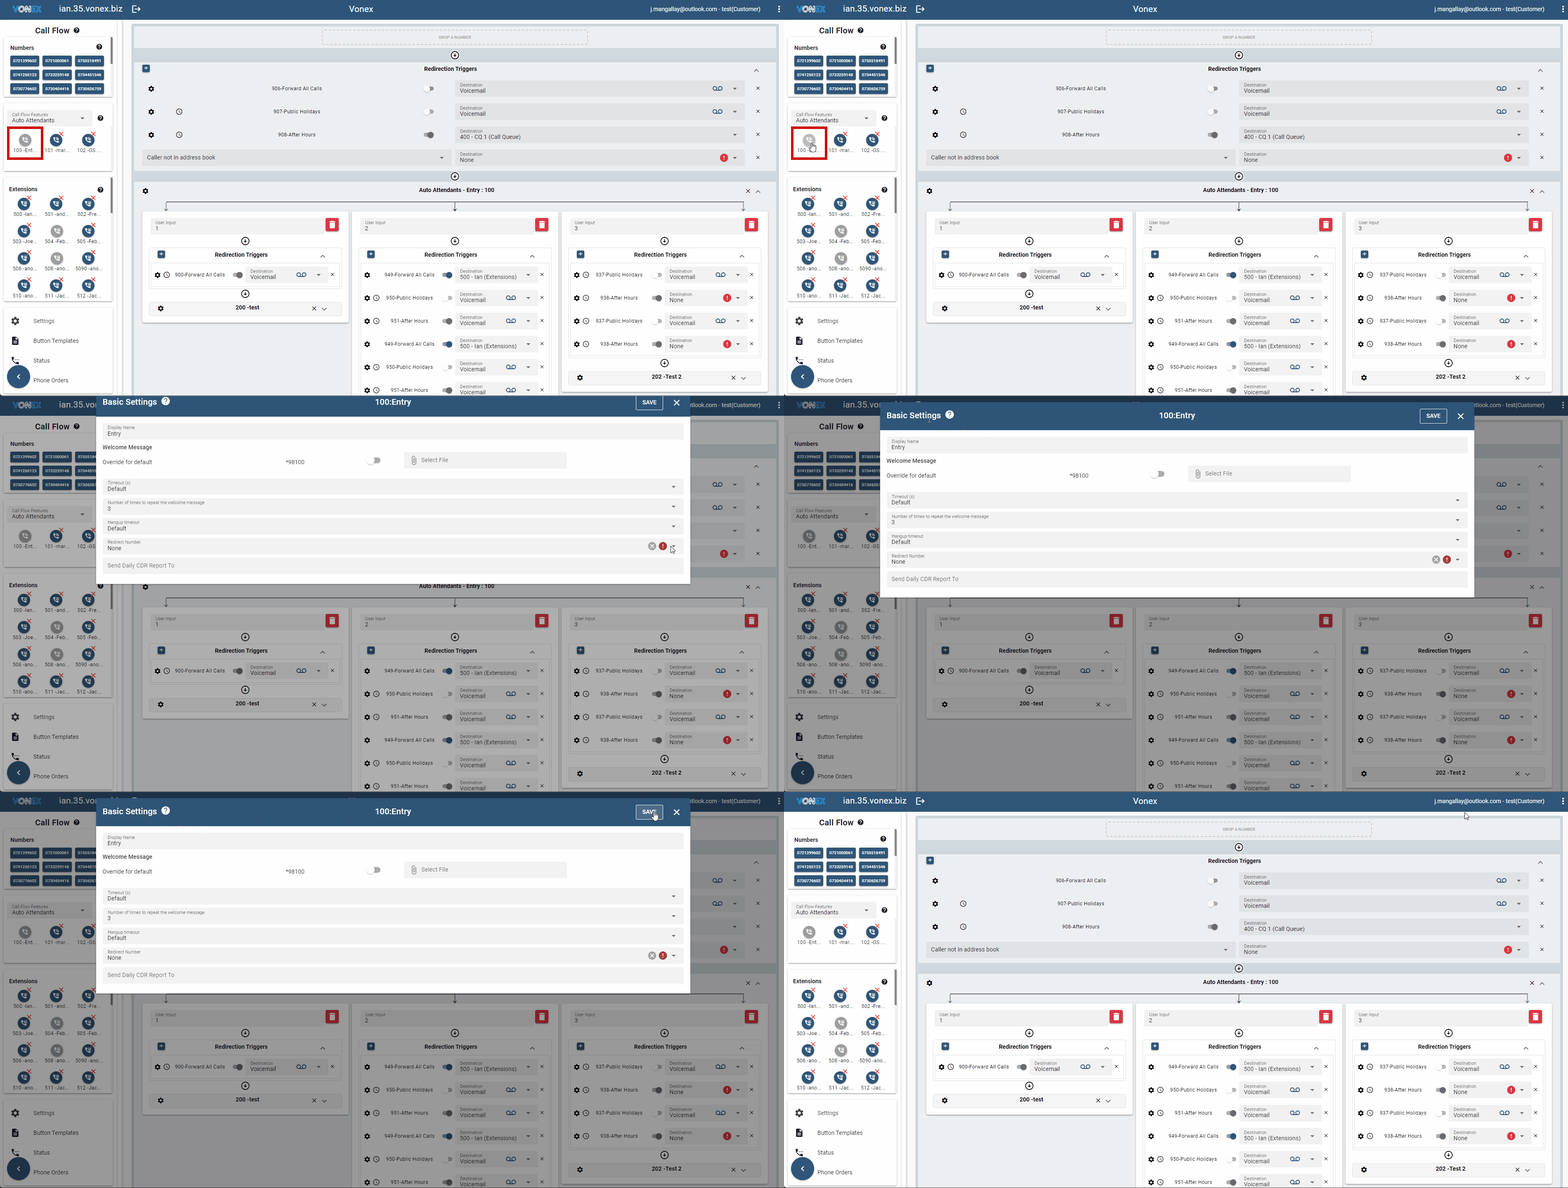
- Edit the Auto Attendant Basic Settings

Display Name: the Auto Attendant name. Use a meaningful name to assist in easily identifying your Auto Attendants.
Welcome Message: Displays the current Welcome Message audio file. To upload a new audio file, click in the Select File window and choose your file.
Welcome Message enabled.
Welcome message Disabled.
Timeout: How long the Auto Attendant waits for a response from the caller before redirecting the call to the Redirect Number. Select the time from the drop-down list.
Number of Times to Repeat the Welcome message: Number of times the Welcome Message is repeated.
Hangup Timeout: How long the Auto Attendant waits for a response before terminating the call. Select the time from the drop-down list.
Redirect Number: Where the call will be redirected to if the caller hasn't responded within the set Timeout period.
Send Daily CDR report to: The list of all the daily calls into the auto attendant. The report is sent nightly at midnight to the email address listed in this field.
Click the Save button on the top right of the page.
- Configure the Auto Attendant direct destinations.

Each option on your Auto Attendant requires a User Input. For each User Input you need to add a Destination. E.g. If the Auto Attendant has 2 options: Press 1 for; Press 2 for you will need to add 2 User Inputs and Destinations.
Click the
button to add a User Input.

Where
Press 1 is User Input 1 and Press 2 is User Input 2
- Click on the
to Expand the Destination window.

- Drag and drop the Destination which may be an Extension, a Call Flow Feature account or an external number.
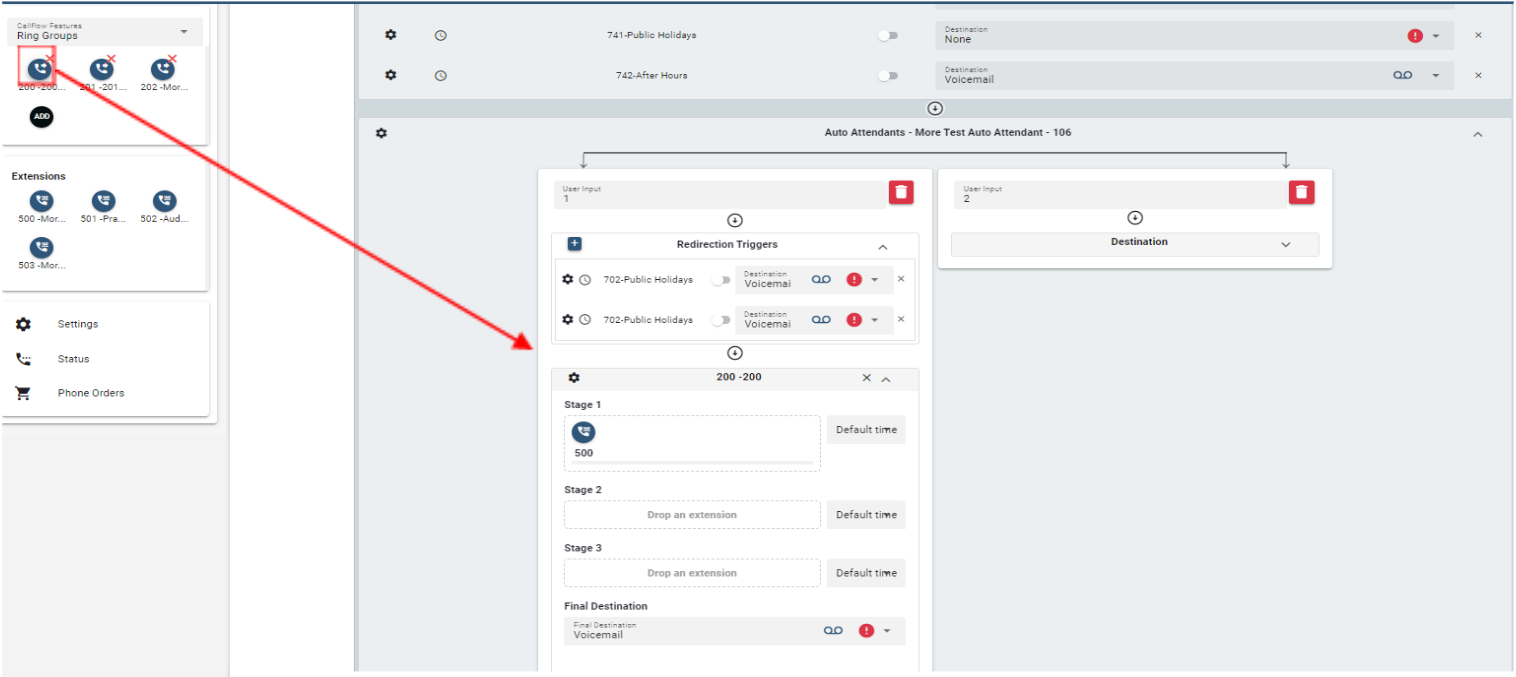
Add the Destinations for each User Input by expanding the Destination window and Drag and Dropping the Extension or Call Flow feature account.
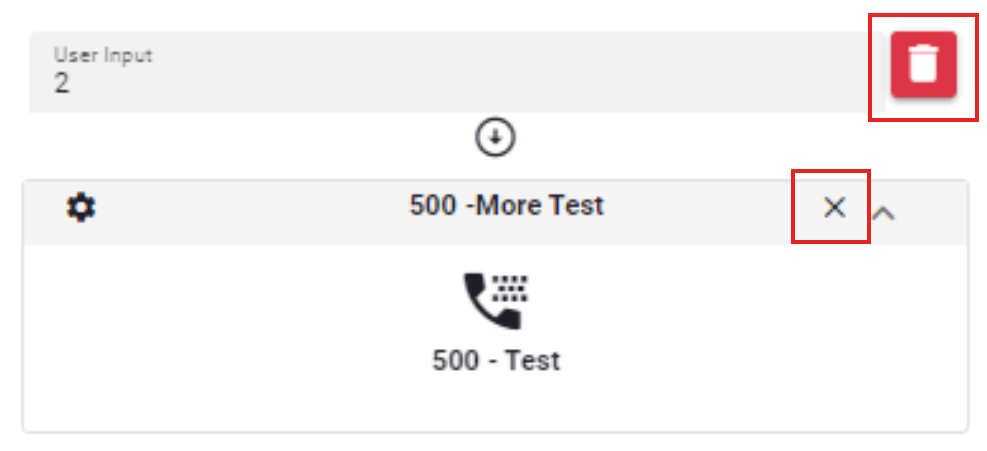
To remove a Destination, Click the
button.
To remove a User Input, Click the
icon.
